


How to Sew Fabric Onto Your Pack

November 02, 2023
Written by Ken Greiter, lunchbox fam member
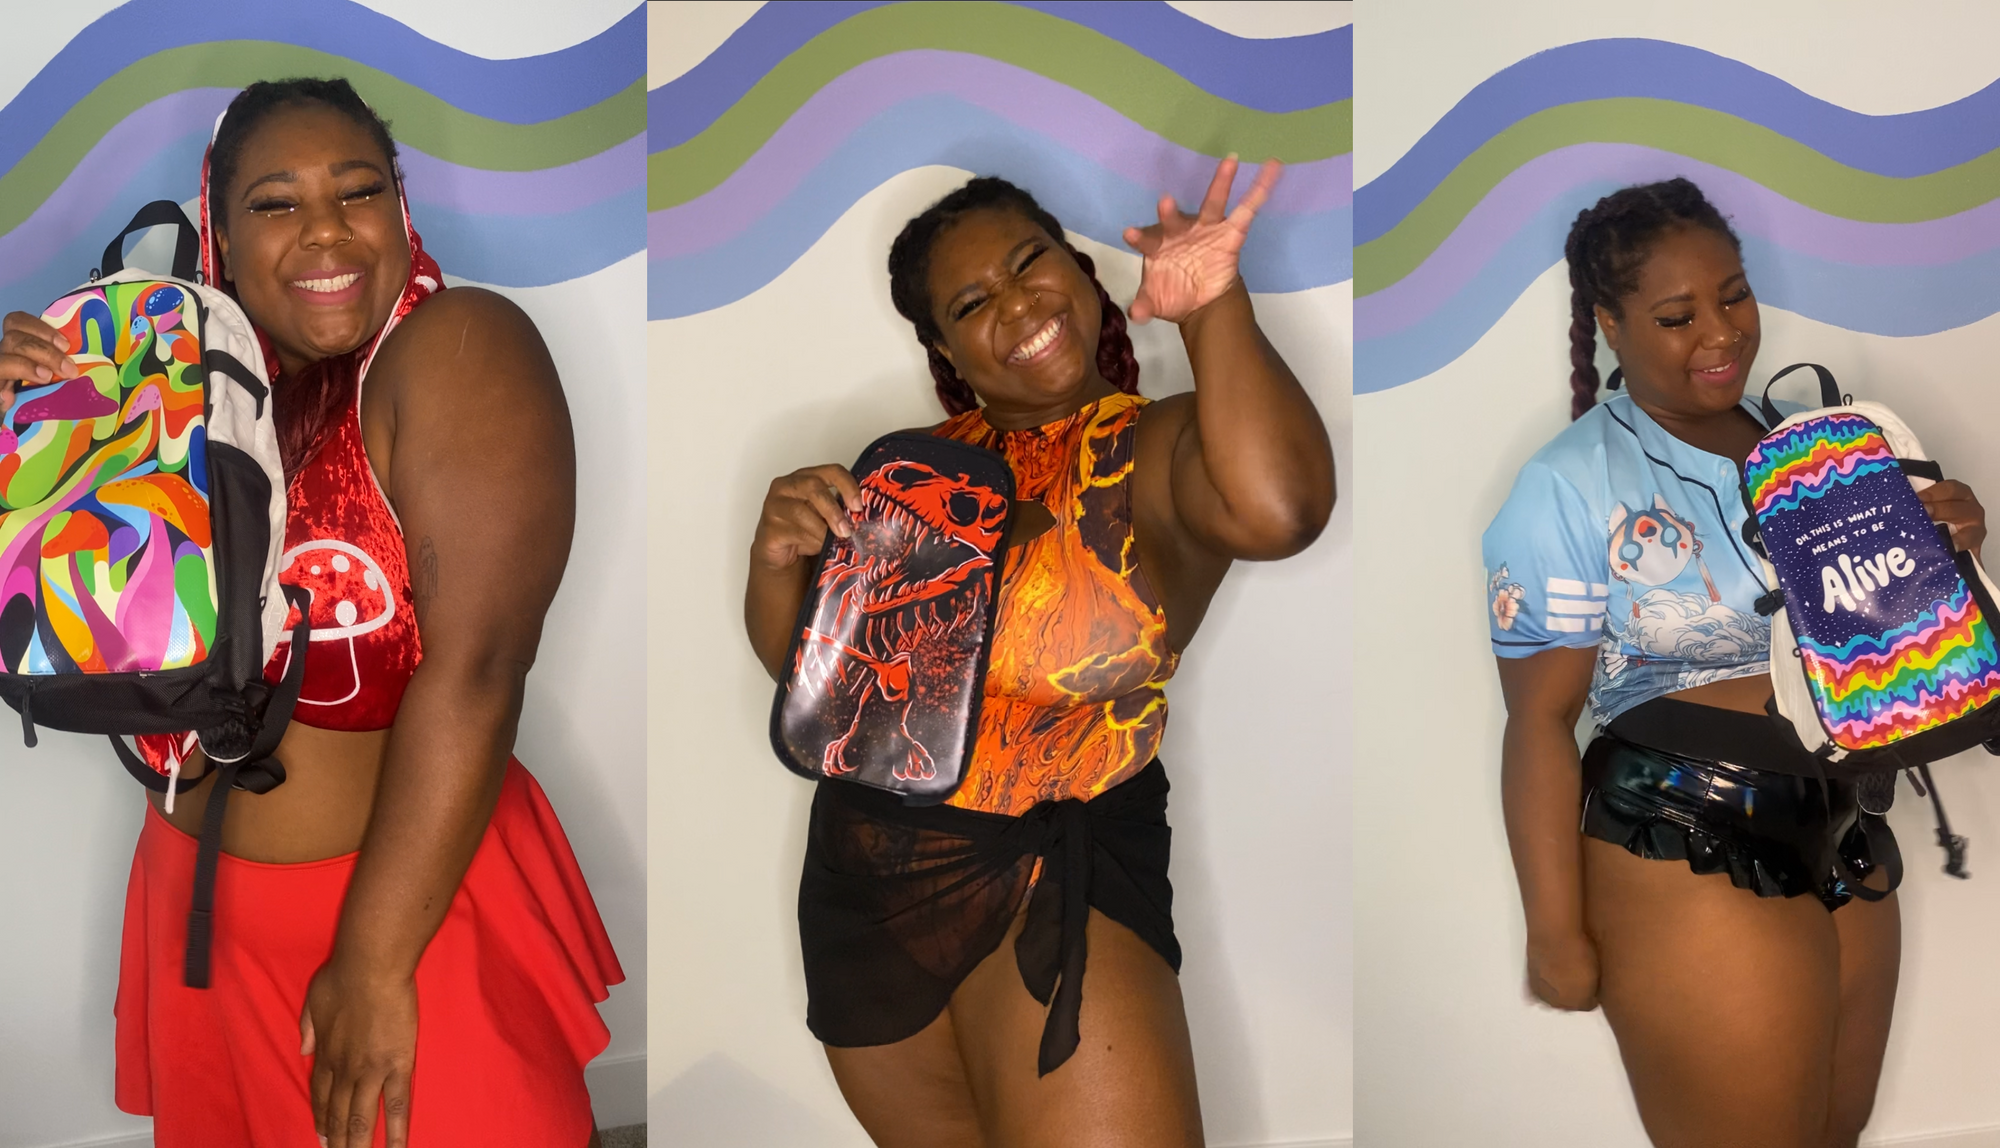
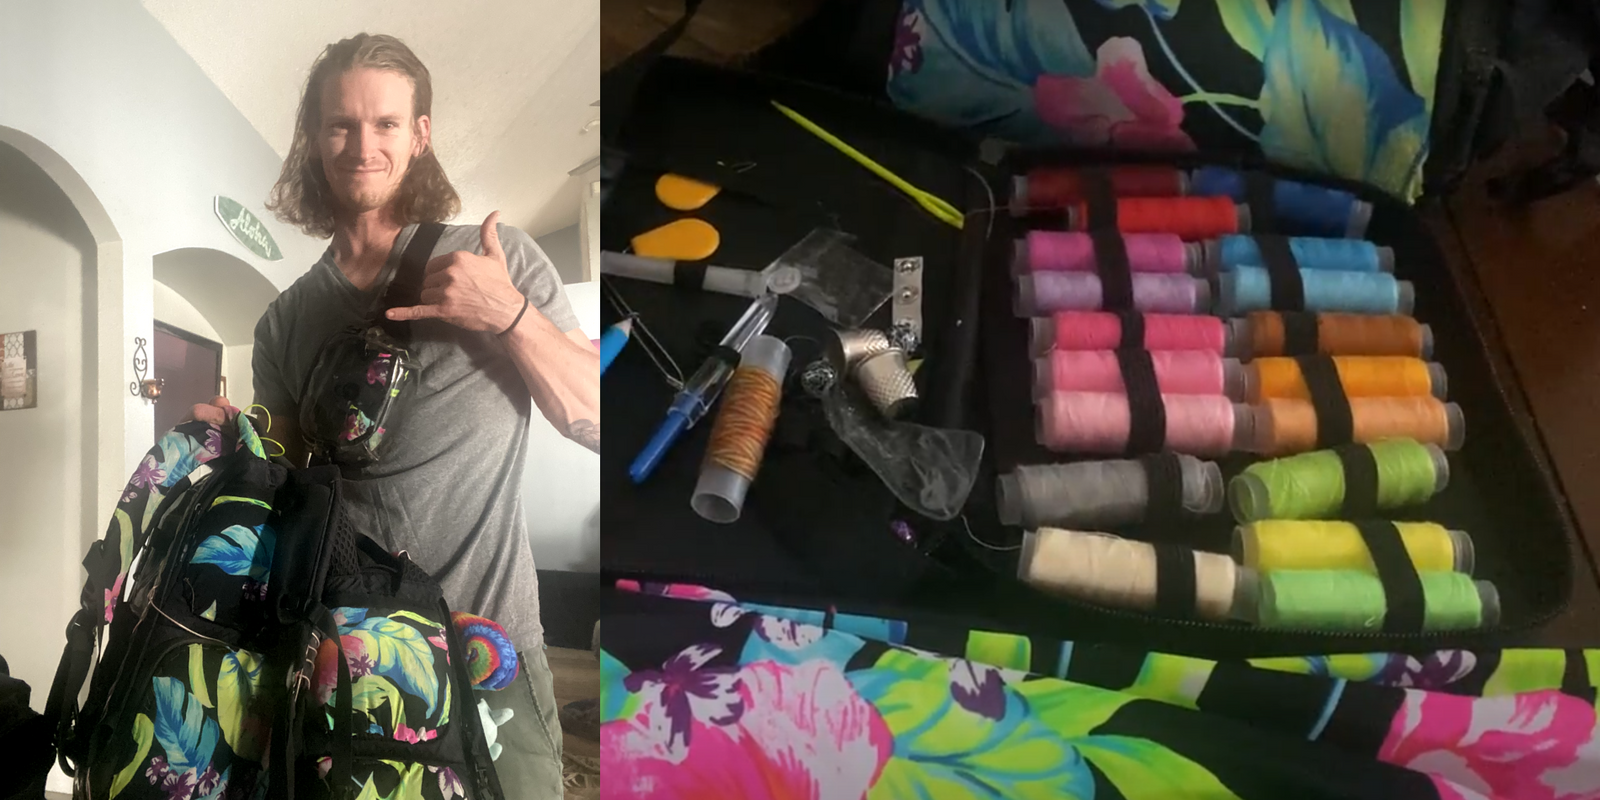
What's up lunchbox fam! I know a lot of you are wondering how to add fabric onto the mesh of the hydration pack, so I wanted to share with you a quick tutorial on how I added it to mine for both style and comfort.
If you aren't familiar with sewing, watch a few YouTube videos on how to sew prior to starting this project. Here are a few I recommend:
Video Tutorial
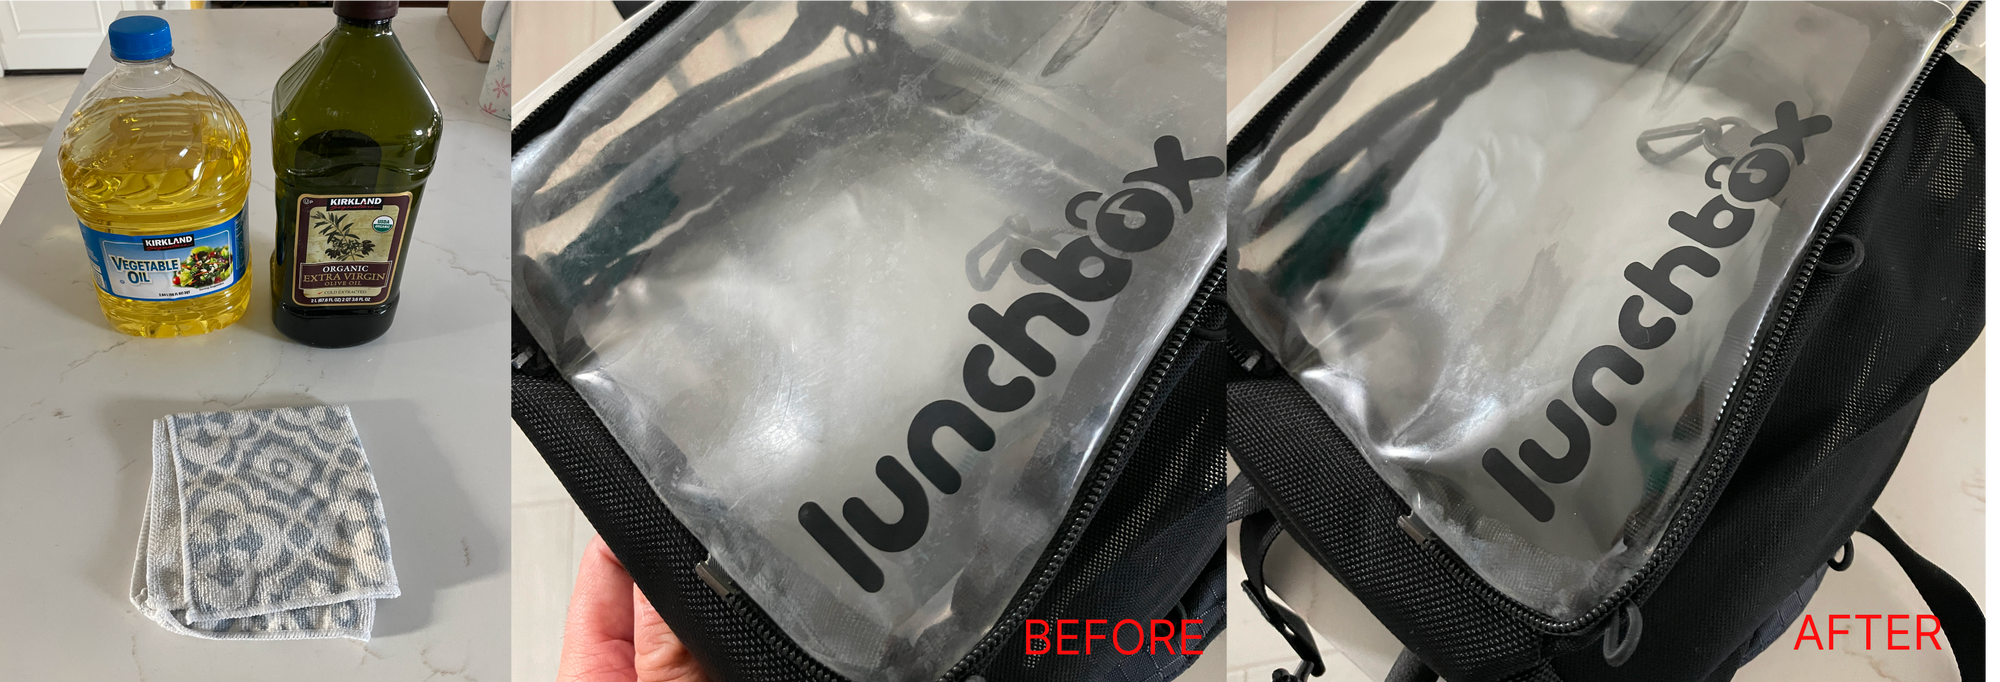
Step 1 - Gather Your Materials

You will need a few items for your project:
- Your favorite Lunchbox Pack(s)
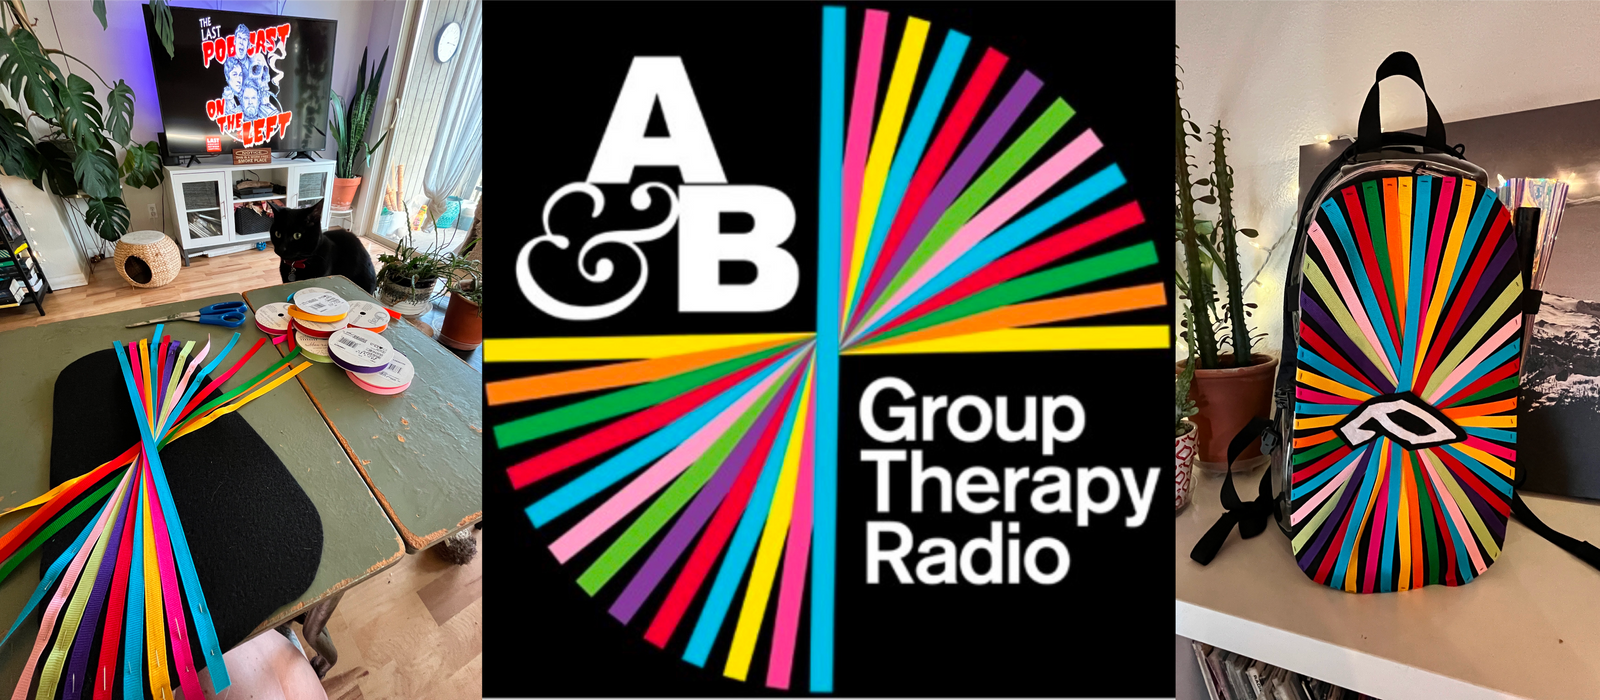
- Fabric with a pattern of your choice (choose something with stretch to it as it's more forgiving if you don't cut it perfectly)
- Sewing thread to match your fabric of choice
- Sewing needles
- Marker or Colored Pencil
- Scissors
- Pins, paper clips, or binder clips
Step 2 - Outline
Grab your fabric and place it over the desired area you'd like to sew it onto. Use your marker or colored pencil to roughly outline on the fabric where you'd want to cut to fully cover your desired area. Adjust the traced area as needed.
You can outline slightly larger than the area so you have a little extra fabric in case of any mistakes.
Be sure to repeat this for each additional area you'd like to cover with your fabric.
Step 3 - Cut
After you're happy with your outline(s), carefully trim away the identified area(s) on the fabric with your scissors.
Step 4 - Pin
Carefully line up your trimmed fabric to the desired area(s) you wish to cover and pin/clip it in place. You don't want to sew your fabric without doing this as it will likely move around and you'll end up with something crooked.
Once all is pinned, assess to see if there's any extra fabric and trim those pieces off.
Step 5 - Sew
After threading your needle prepare to sew using a regular stitch through the fabric a few times (or a whip stitch) to give a strong foundation/starting point for the rest of the sewing.
After you’ve completed stitching your fabric to your Lunchbox Pack, send your needle through and out a couple extra times at the end to securely knot it and prevent anyone from accidentally snagging your thread.
Note that the longer distance between the stitches the faster you will complete the project but the more likely your fabric will fall off quicker from repeated wear and tear. Try and find your happy spot and zen out for a couple hours!
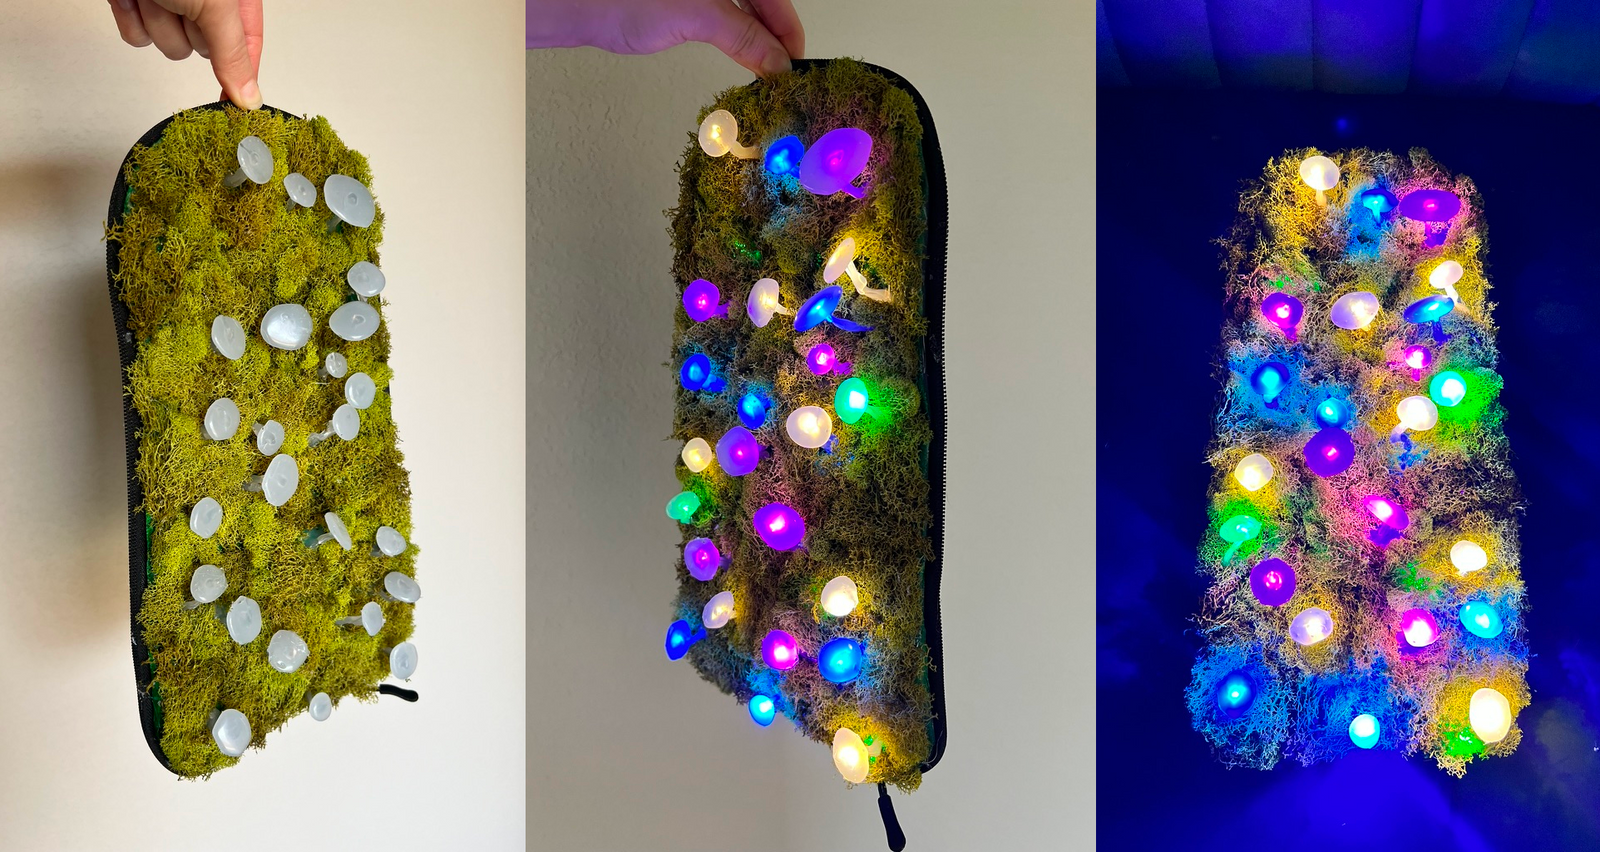
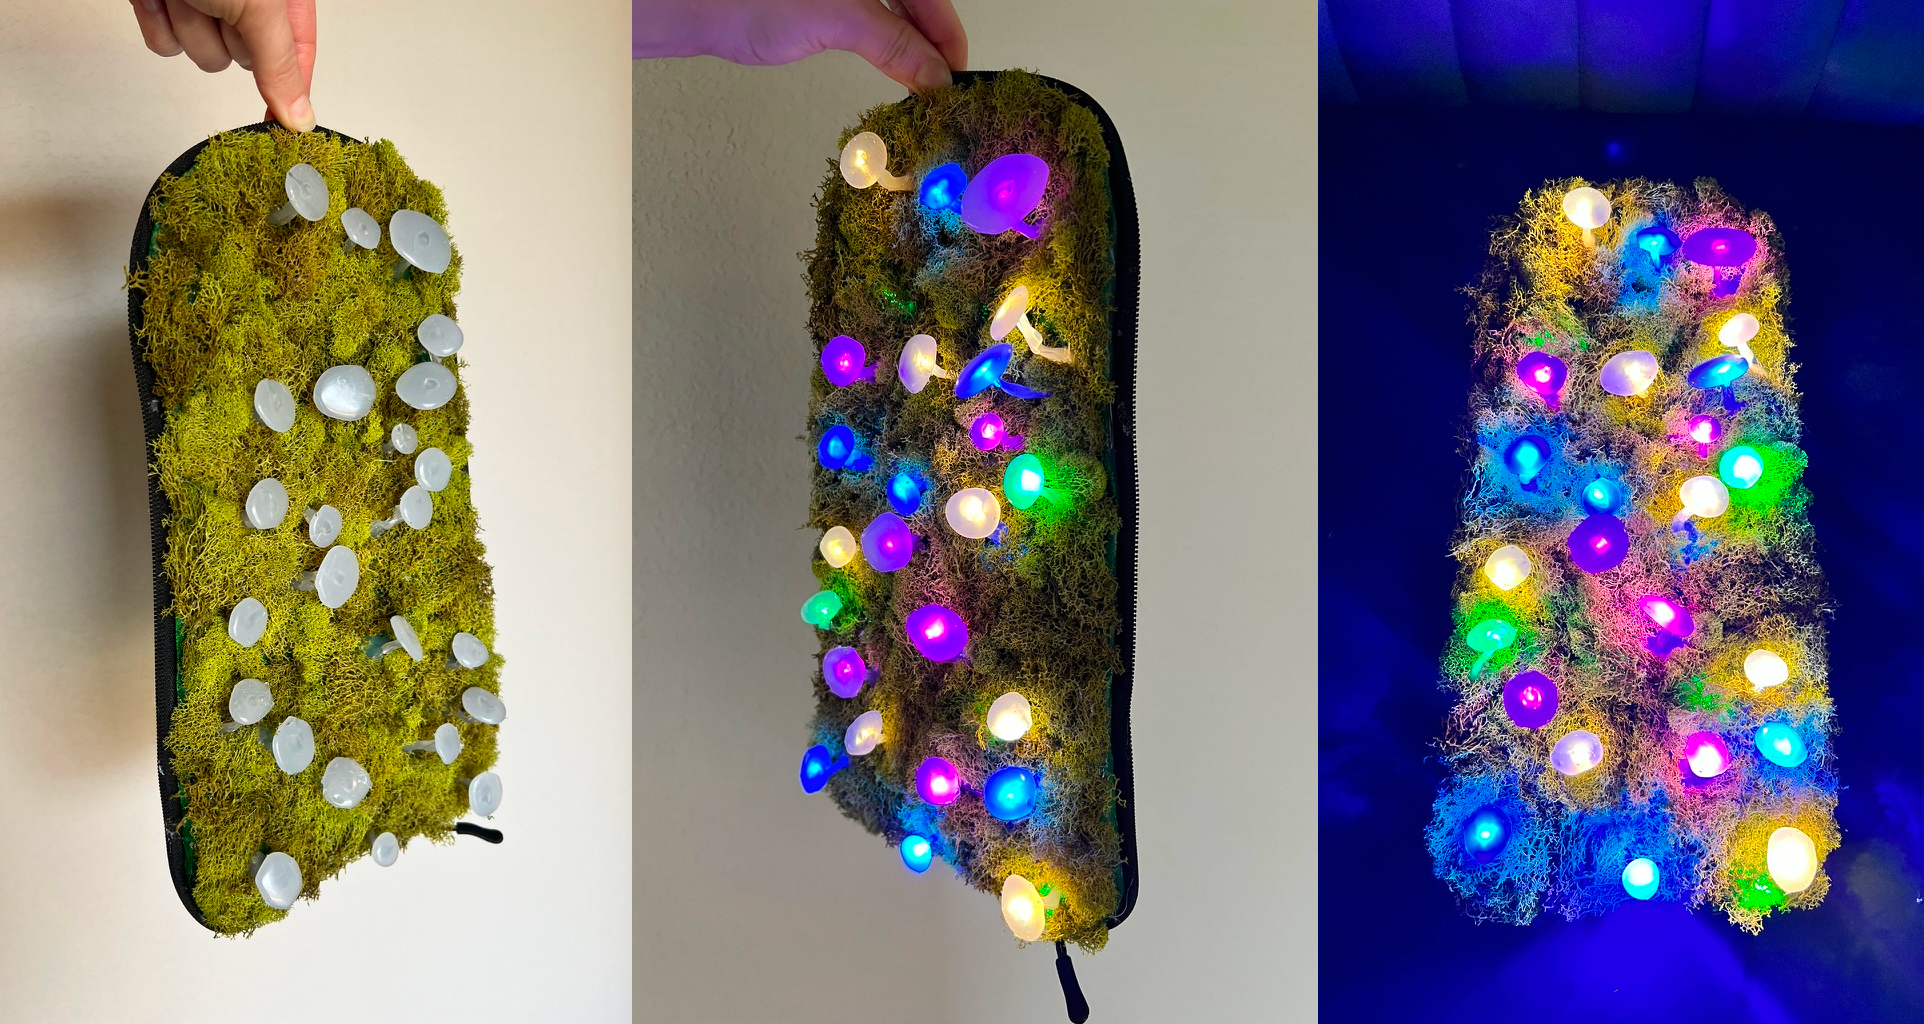
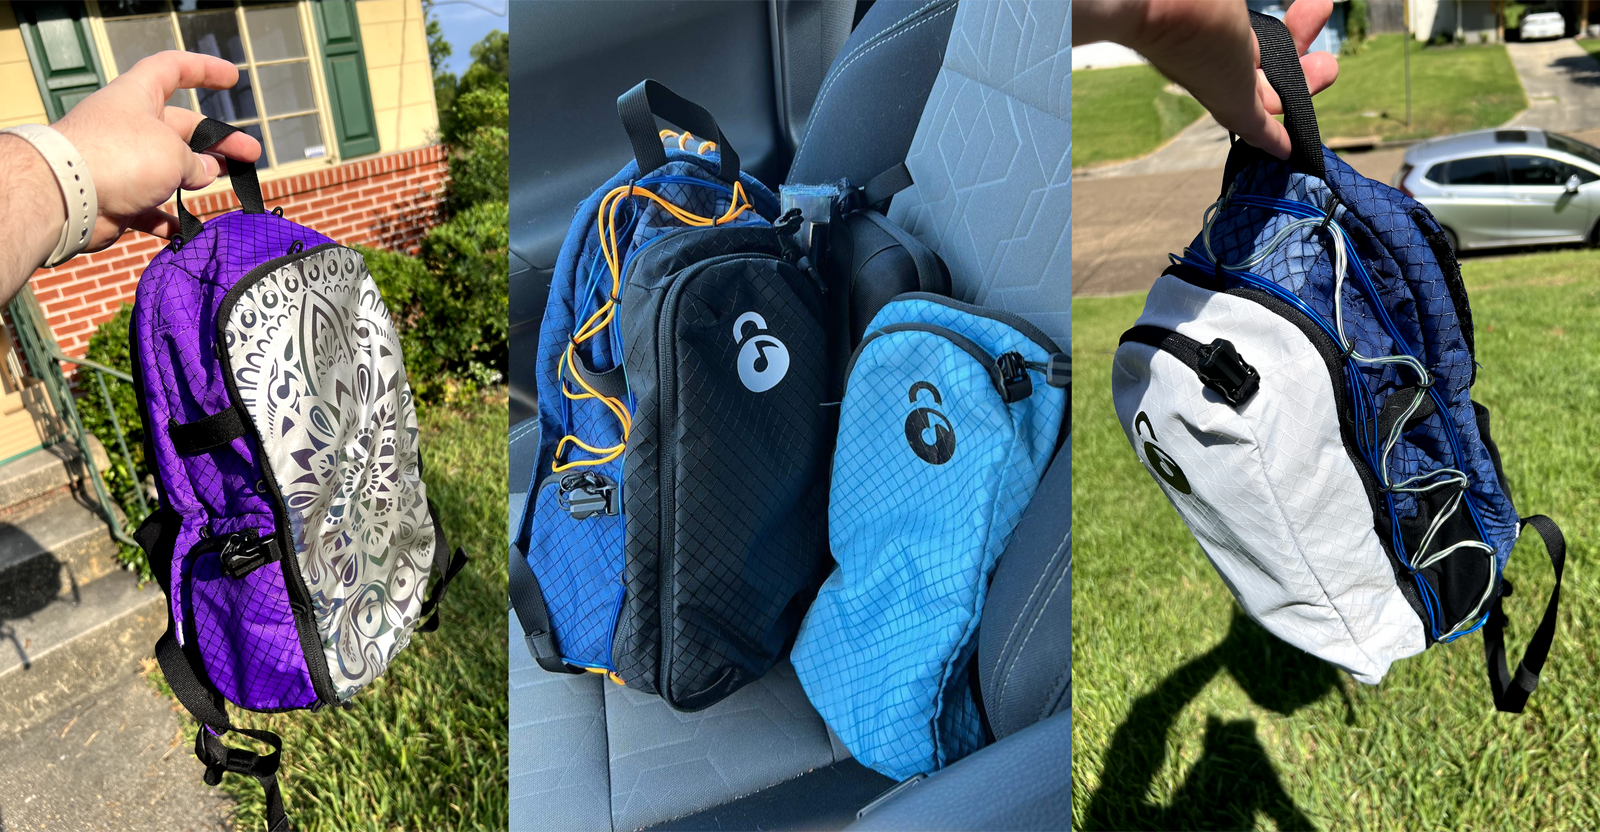
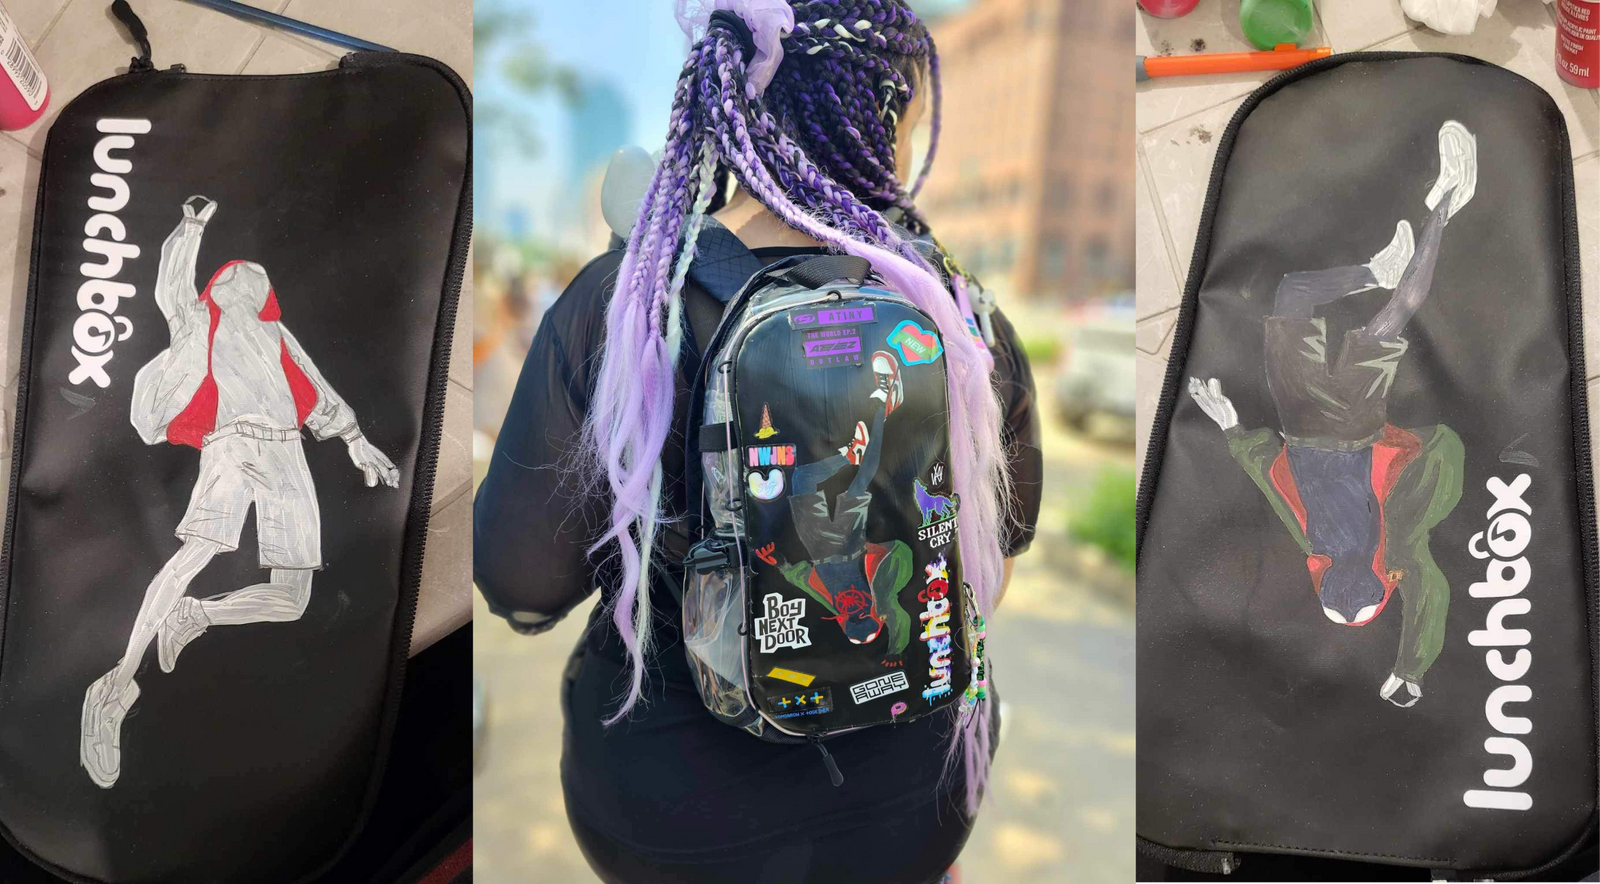
And after all that, enjoy your new customized packs which give them a little extra flare and addition cushion! I've customized my black hydration pack, my clear snack (including some of the interior pockets) and plan to grab a white hydration pack to customize that next!